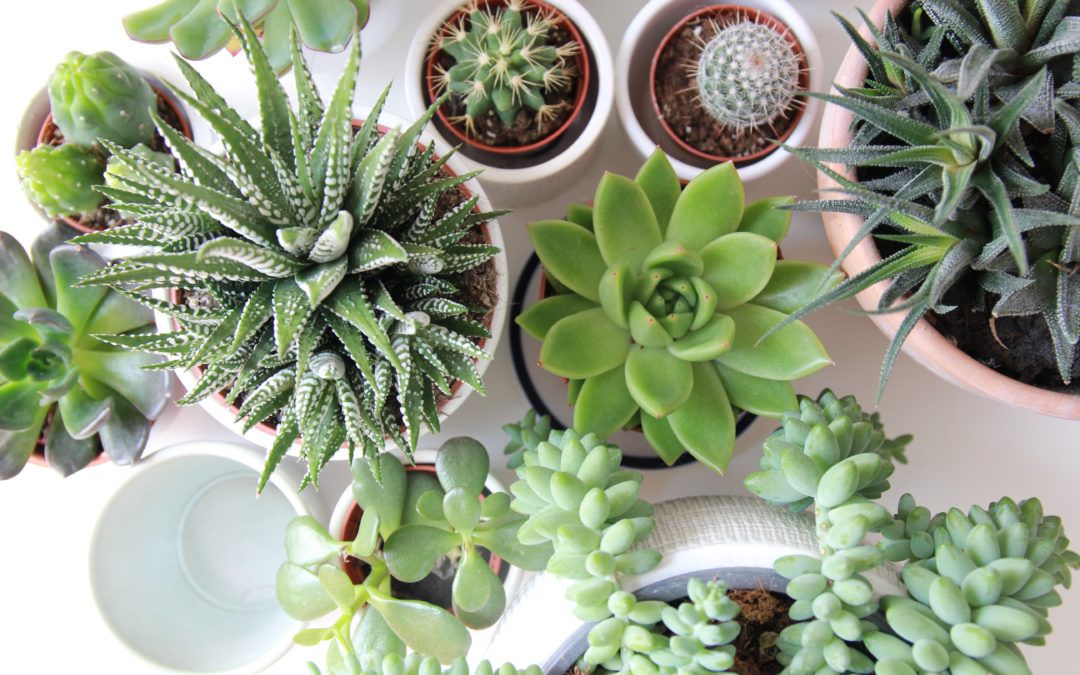
Container garden design is a matter of personal style and preference. Some like their garden neat, others like them wild. You may prefer foliage, while your neighbour favours flowers. That’s part of the excitement – injecting your own style, making what you want, and arranging it whichever way you want.
While there are no hard and fast design rules, and creativity remains the foundation of your own container garden design, there are some general principles that can make your containers (and the garden as a whole) look better.
Sizing Containers
Sizing your containers is not only important in terms of care, but also in design. Plants in the wrong size pot – whether too big or too small – can look out of place. Balance sizing so your plants look healthy in their home, not weak and diminished. It is also possible to go too big. You don’t want your pot to be top-heavy or overflow from the sides. Keep the plant size around double the height and width of the pot at the most.
Consider Colour
Colour can have a massive impact on the design of your containers. Widespread colour design principles used indoors apply here too. For a dramatic look, place contrasting colours (in pots and plants) next to each other. For a calmer, harmonious look, choose plants and pots with similar shades of the same colour. Don’t forget foliage when considering colour – flowers may not be around the entire year, but foliage often is and can add a pop of colour in off-seasons.
These principles don’t only apply to colour, they can also apply to the texture, size, and design of your pots. Contrasting textures in leaves and flowers add variety and interest. The same goes for the sizes of the leaves and flowers, or their density. For harmony and uniformity, choose plants with similar textures and sizes. You can also contrast the pot itself with the plants inside it. Use simple pots with flamboyant plants, artsy pots for simple plants, or keep the pot colours and textures uniform to highlight the plants themselves.
Arrangement
Before planting, consider arrangement within the pot and the wider garden. The first, and most important, factor to keep in mind is plant care. When placing plants in the same pot, they will be sharing sunlight, soil, and water, so it’s vital to ensure all these requirements are correctly matched. Never place two incompatible plants in the same pot – no matter how good they look together.
Matching plant’s needs within the same pot doesn’t have to be a headache though. It actually gives you an advantage in plant care. As the needs of each plant in the pot are the same or similar, they all require the same type of soil, the same sunlight levels, and the same watering levels. By creating your own soil mixes that suit the plants perfectly, placing the pot in the ideal sunny spot, and watering as needed, you’ll cut down your care time and make it all the more likely that your plants will thrive.
After care, comes design and placement of the plants within the pot. The tallest plant in your pot should ideally go in the centre or at the ‘back’ if the pot is placed in a corner to form a focal point. Surround the centre plant with smaller, complimentary plants called fillers. The edges of a pot are ideal for trailing plants, as if they are spilling out of the pot. Trailing plants also make a good cover for any unsightly marks on containers. It comes down to three fundamentals: thriller, filler, and spiller.
When arranging your pots, apply the ‘Rule of Three’ by grouping pots of different heights together. Add one or two tall plants (trees are ideal) to ensure the garden does not appear one dimensional. Group plants of different types – flowers and foliage, or shrubs and succulents – to add variety.
Herbs are the quickest, simplest, and tastiest way to elevate your dinners from ordinary to mind-blowing. They are even more vital in winter when hearty roasts and homey veggies need a sprig of rosemary or a topping of parsley to bring a meal together. Unfortunately, as gardeners know, there are few plants that grow well in areas with cold South African winters, but luckily, there are several herbs on that list. While they won’t grow exceptionally quickly, and you may have to watch how much you harvest, these herbs are ready to withstand winter weather and keep your kitchen stocked all season long.
Thyme
Thyme is a kitchen classic and an essential part of any herb garden. Its pleasant savoury flavour is ideal for soups, roasts, or vegetables. We even added some thyme to our cupcakes to balance the sweetness and sour lemon in this video:
There are many thyme fragrances to choose from, including lemon-scented thyme which is ideal for winter cold-fighting teas. As a Mediterranean plant, it thrives in full sun and high heat, but will hold out over winter with some protection from frost. Place a frost cover over the plant in extremely cold weather so you can continue sneakily harvesting under the blanket over winter. Be sure not to harvest more than one-third of the plant and it will be sure to grow back come springtime.
Sage
Drought and frost resistant, sage is the ideal cold-hardy herb. In fact, sage thrives in a range of conditions, including in poor soil. Grow it in a full sun position almost anywhere in your garden and it will be happy. Plus, you’ll be happy to have a consistent supply of sage in your kitchen. The fresh fragrance is ideal for chicken stuffing or pasta sauces. Any sore throats from winter ailments can also be kept at bay with a sage tea – steep some dried leaves in boiling water, add a pinch of salt, and gargle every few hours.
Mint
Mint is known for being aggressive. With the right care, it will continue that trend – even in cold weather. While the tops will eventually die back in very cold weather, in most regions of South Africa it will hold out and you can continue your harvest all year long. Mint is a great addition to the classic cold-fighting drink, hot toddy. Alternatively, throw a few leaves in some boiling water on their own for a refreshing, garden-brewed tea.
Rosemary
Like thyme, rosemary is a winter kitchen staple. Its savoury aroma is synonymous with cold weather – just the sight of rosemary is likely to trigger memories of traditional winter roasts and flickering fires. Rosemary can withstand cold weather with some protection provided, as long as it remains in a full-sun position throughout the day. While frost-hardy, it doesn’t grow as vigorously in winter as it does in spring. A light hand in harvesting is essential to keep the plant healthy until growing starts up again.
Stock your kitchen cabinets (and your medicine cabinets) with these essential winter herbs harvested straight from your garden. They are sure to make the cold, gloomy winter months in the garden far more bearable.
Winter is arguably a gardener’s least favourite season. Many of us spend the three months staring at our gardens solemnly, waiting in anticipation for spring. But winter is the perfect time for one thing we all like to avoid – gardening chores. Get started on these essential garden tasks early, so you can spend your free time in spring enjoying the fruits of your labour.
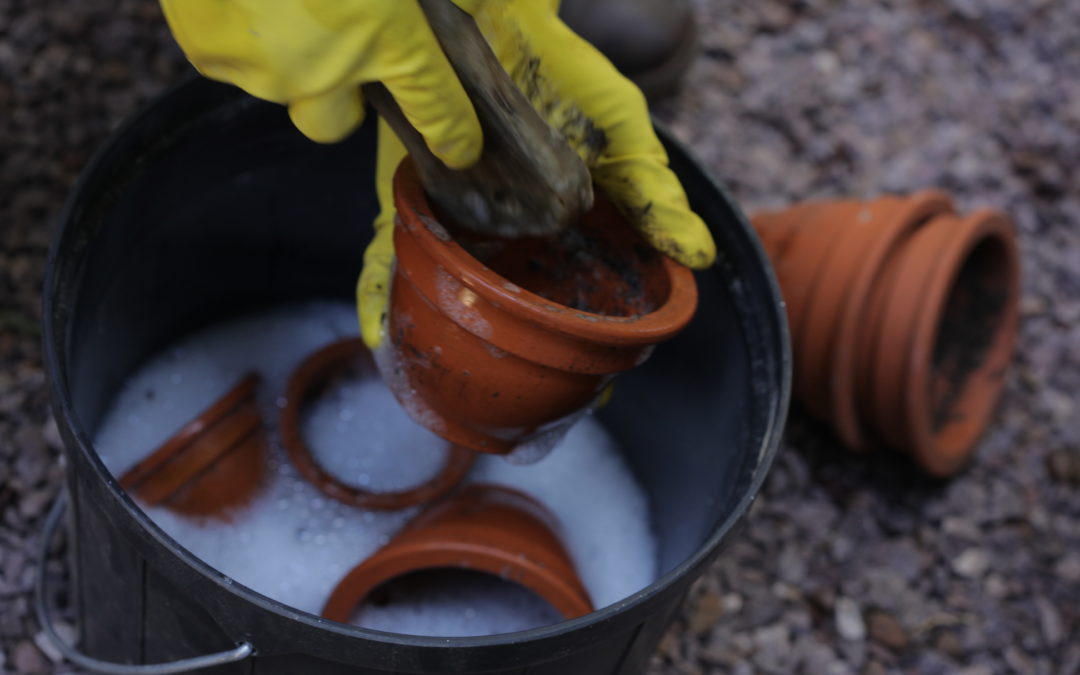
Clean, clean, clean
Gardeners are a particularly messy bunch. Dirt, cuttings, disorganized tools and half-opened bags of potting soil are a norm throughout the year. Winter is the perfect time to sort through the chaos. Put your garden organization skills to use in your garden shed by categorizing and putting away all your gardening products. It likely won’t stay that way for long, but it will give you a tidy start in the busy months of spring.
Use this time to clean, disinfect, and sharpen all your gardening tools too. If you’ve been slacking on some autumn chores, like cleaning up garden beds and edging (we’ve all been guilty at some point), get started now to avoid piling on the list of tasks to tackle at the end of the season.
Protect your plants
Those that experience cold South African winters will already know how important it is to protect your more sensitive plants from harsh weather. This is a task that can’t be done too late – once frost damages your plants, it can be incredibly difficult for them to recover. Cover susceptible plants with frost blankets at any sign of freezing temperatures and bring any containers indoors for the evenings. Add a hefty layer of mulch to all the garden beds to insulate the soil and protect the roots from extreme cold.
Amend your soil
Soil is the foundation of every good garden bed, and winter is the ideal time to improve it. You can start by doing a soil test to determine what nutrients your soil is lacking, or simply dig in with mounds of compost. This task is best left towards mid or late winter, in preparation for planting in spring. However, if you have particularly poor soil, starting early gives you plenty of time to ensure it is up to scratch before planting time.
Build new features
In spring, the focus is always on the plants. So, in winter, turn the focus to everything around your plants by building new features. Winter is a great time to plan and structure new pathways, water features, or new beds primed for spring flowers. Alternatively, you can use the time to tear down old features that are not working anymore and replace them with something fresh.
Plan for next season
And lastly, the best chore of all – flexing your creative muscles (if you can call it a chore at all). Winter is not only the season of organizing, but also the season of planning. Start by taking stock of your seeds and ordering more to be ready for planting in Spring. Look at what worked in your garden over the past year and what didn’t as a starting point for your new garden plan. Don’t start planning too late, as you may lose out on some of your favourites to those gardeners on the ball.
Winter will be over before you know it, but with all your gardening chores completed, you’re bound to be ready for it.
When it comes to the causes of houseplant problems (and demises), water is usually the number one culprit. For beginner gardeners, standard advice such as “water once a week but do not overwater” may be difficult to understand, leading to incorrect practices and unhappy plants. Understanding when to water and how to water is vital to plant care success – here’s how you can ensure you get it right.
When to Water
It may be convenient for humans to live on a schedule, but plants don’t. Their needs are not determined by the days of the week. How often you water your plant will depend on several factors: soil conditions, the amount of light the plant is getting, or the seasons for example. And ‘right time’ almost never coincides with a perfect schedule.
The first factor, soil conditions, relates to the amount of moisture the plant needs in the soil. All plants need water at some point, but they all prefer different amounts.
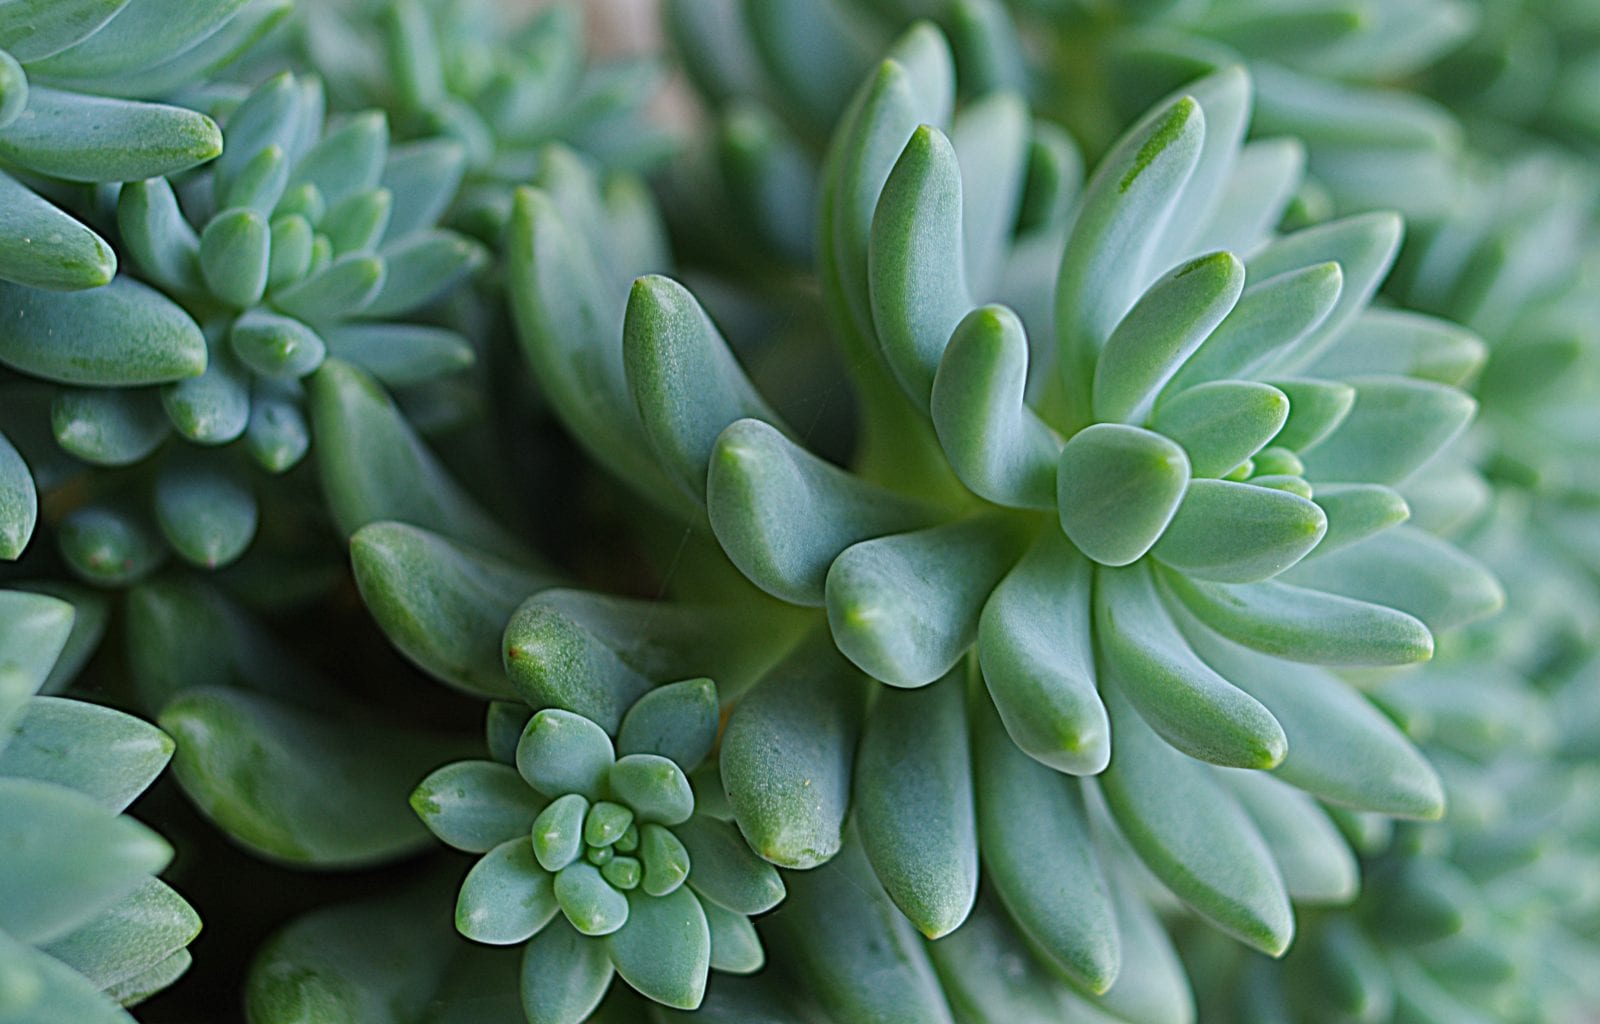
For example, succulents and cacti, holding most of the water they need in their leaves, prefer the soil to be completely dried out before they are watered again. The plant can only hold so much water in the leaves – any remaining water will stay in the soil and may cause the roots to rot.
Most indoor plants (usually tropical plants) need a good amount of water as their leaves do not store much. But they don’t like environments that are too moist either, so the top layer of soil should be dried out completely before watering. Other plants, like ferns with extremely thin leaves, like moist soil and a moist environment (although this does not mean soggy).
The soil will change conditions at different times depending on your environment, how much light the plant is getting, and the seasons (impacted by both changes in weather and increased growth rate in Spring).
Rather than watering your plants on a weekly basis (or whatever period is recommended) test the soil with your finger to determine if your plant needs water, based on the characteristics we interpreted before. If you like routine, you can always set a time once or twice a week to check all your plants and water as needed, instead of having to check them every day, or watering them anyway and facing the dreaded ‘overwatering’ scenario.
How to Water
There are three main methods of watering your indoor plants.
The first is to water gently with a watering can where the plant is placed. This is a handy method for a quick top-up but comes with some caveats. You’ll need to know exactly how much water the pot holds, so you water the soil enough to reach the bottom, but not so much that water runs out the drainage holes at the bottom (and hopefully onto the tray beneath it, not your shelf). If you do overwater, you will have to empty each tray to prevent the water from stagnating. Despite the caveats, this method is ideal for indoor gardeners with little time and a lot of plants.
The second method is watering over the sink, completely drenching the soil, and allowing the excess to run through. This may be tedious if you have a lot of plants, but it is a more reliable method.
If you forgot a watering cycle or two, soaking the soil over the sink may not be sufficient. Extremely dry soil will pull away from the sides of the pot and repel water (called hydrophobic soil). When the soil is extremely dry, the water will run off the top, down the sides of the pot, and out the drainage holes, without penetrating the soil. In these cases, you will need to use the third watering method – submerging.
Fill a sink or large container with a shallow layer of water and place the plants inside, allowing them to draw the water up from the bottom of the container. This way the plants can take up as much water as they need with even distribution. This process takes a couple of hours, but most plants should not be left in water for too long and can be removed as soon as the soil is soaked through.
With autumn well underway, the yearly task of raking is likely to become a priority in many gardens. Just one medium-sized deciduous tree can produce a pile of leaves large enough to ‘swim’ in, and the size of that pile only expands with the number of trees in your garden. Once you’ve completed the time-consuming task of raking, don’t let all your effort go to waste – put those leaves to good use. Fallen leaves can be reused throughout your garden in a number of ways, each one improving the health of the living plants in your garden.
Compost
Every gardener needs a compost pile. Not only because it’s a great way to manage your garden waste and give back to your garden, but also because it provides an ideal home for your dried leaves.
Good compost requires a mix of green materials (nitrogen-rich) and brown materials (carbon-rich). That’s great news for gardeners with a giant pile of dried leaves in their backyard, as dried leaves of one of the best carbon-rich materials to add to your compost heap.
If you need compost in a hurry, shred the leaves as much as possible before throwing them on the pile. Whole leaves take far longer to break down than shredded ones as you’ve done half the work for them.
Mulch
Mulching is incredibly important for the growth and health of your plants. It’s also super simple to do and comes with a wide range of benefits – especially if you have a pile of leaves in your garden. Shredded leaves protect the soil as the plants grow and break down over time to improve soil health.
Although shredding leaves is an extra step, it is a necessary one. Rather than retaining moisture and improving soil quality, unshredded leaves prevent water and air from reaching the soil, depriving the roots of their basic needs. If the layer is too thick, it can also trap too much moisture in the soil, causing root rot.
There are leaf shredders designed for this exact task, or you can go wild with your mower and ride over your leaf pile a couple of times to do the job.
Soil Amendments
Depending on the layout of your garden, you may not have to rake up your leaves at all. If the leaves fall straight onto bare soil, you can simply work them back into the soil to decompose right where they land. This added organic material improves aeration and nutrients as it breaks down over time.
The same practice can be applied to those pesky leaves that land on your lawn. Instead of raking them, leave them where they are and simply mow your lawn. The leaves will break up into fine pieces amongst the grass (as long as there aren’t too many around), covering any gaps and helping retain moisture in the soil. The leaves will also break down into the soil over time, improving the overall quality of your lawn.
Leaf Mould
The name may not sound particularly appealing, but this organic material can do wonders for your garden. It is a process for patient gardeners, as making leaf mold can take well over a year, but the results are worth the wait.
Leaf mold is a dark substance with a wide range of benefits: improving soil quality by breaking up compacted soils, improving water retention, and aiding microbial activity. It can also be used as a growing medium when sowing seeds.
To make this magical substance, simply drop your leaves in a bag or basket with plenty of holes for aeration or leave them in a separate pile in a secluded corner of your garden. In two years, you will have a dark, rich pile of leaf mold to use in whichever way your garden desires.
It’s no secret – the internet loves houseplants. And it’s not hard to understand why. Indoor plants instantly brighten up a room, bring you closer to nature, and are an ideal way for gardeners with no outdoor space to scratch their gardening itch. In fact, there are countless benefits to owning and taking care of indoor plants, from mental health to interior design, and beyond:
Indoor plants are good for your mental health and can relieve stress
Indoor plants turn every day into a self-care day. Studies show our mental health is positively impacted when we’re surrounded by nature. Greenery is proven to lower blood pressure, release muscle tension, and counter the effects of staring at a screen all day (yes, you).
Plants are so good for you, a new branch of mental health treatment centred around gardening has emerged — Horticultural Therapy. The Canadian Horticultural Therapy Association defines it as “a formal practice that uses plants, horticultural activities, and the garden landscape to promote well-being for its participants.” Horticultural therapy has reduced symptoms of depression, anxiety, and PTSD in patients, and improved cognitive abilities in dementia patients.
The presence of plants, and the act of taking care of them, also relieve stress. After a long day at work, instead of flopping in front of your TV or taking out Twitter, let go of your stress by spending some one-on-one time with your plant children. They get the attention they need while you get calmer. It’s a win-win.
Indoor plants increase productivity and memory retention
We all need to be productive sometimes. Incessant distractions like the ping of a notification make focusing on any task almost impossible in the 21st century. For the small price of an indoor plant (and the time it takes to keep it alive), those problems can almost disappear.
A 2014 study by the University of Exeter found that filling your office with indoor plants can increase productivity by up to 15%.
“Simply enriching a previously Spartan space with plants served to increase productivity by 15% — a figure that aligns closely with findings in previously conducted laboratory studies. This conclusion is at odds with the present economic and political zeitgeist as well as with modern ‘lean’ management techniques, yet it nevertheless identifies a pathway to a more enjoyable, more comfortable and a more profitable form of office-based working.”
Marlon Nieuwenhuis
Other studies show that nature can aid memory retention and increase alertness. If you can’t remember what you had for dinner two nights ago, an indoor plant or two may be for you.
Indoor plants are good-looking
Plants look great wherever you put them. This is an obvious point, but no less relevant.
Modern design has previously focused on muted tones and clean lines, ushering in a new emphasis on the wild, chaotic character of nature as a retort. Designers capitalized on this trend by loading every fabric and wall print with Monstera or Palm leaves. Instead, upgrade your interior design by using the real thing.
The options are almost endless when designing with plants. Want structure? Go for a Zamioculcas zamiifolia. Want a soft, comforting look? Ficus lyrata. Want to become an Instagram plant influencer? Monstera deliciosa, and don’t forget to hashtag #MonsteraMonday.
Indoor plants are the interior design jack-of-all-trades
Indoor plants aren’t just a pretty face. These practical benefits round off a room and solve some demanding design problems:
Plants can increase indoor humidity levels for dry areas or tough winters.
In an apartment block and tired of hearing the intimate details of your neighbor’s day? Use plants as a natural soundproofing material.
Upgrade your bachelor apartment with a living screen separating the living and bedroom areas.
Fill in empty corners with statement pieces or add some interest overhead with a few trailing plants.
Caring for indoor plants provides a sense of accomplishment
Keeping a plant alive can be onerous, especially for self-proclaimed plant murderers. As Theodore Roosevelt apparently said, “nothing in the world is worth having or worth doing unless it means effort, pain, difficulty”. He probably wasn’t talking about frantically watering the plant you forgot in a dark corner for three weeks, but it still applies.
Nurturing is part of the human experience. You don’t have to go full plant-parent and name your plants or sing to them — just caring for another living thing is enough to provide that connection and accomplishment we all seek.
Of all the companions to choose from, plants are super low maintenance. They won’t berate you for ignoring a text or ask, yet again, why you haven’t figured out what to do with your life. Plants don’t judge.
With all these positives, you should be convinced to fill your home with as many houseplants as you can find space for. Hopefully, you’ll have your own #IndoorJungle in no time.
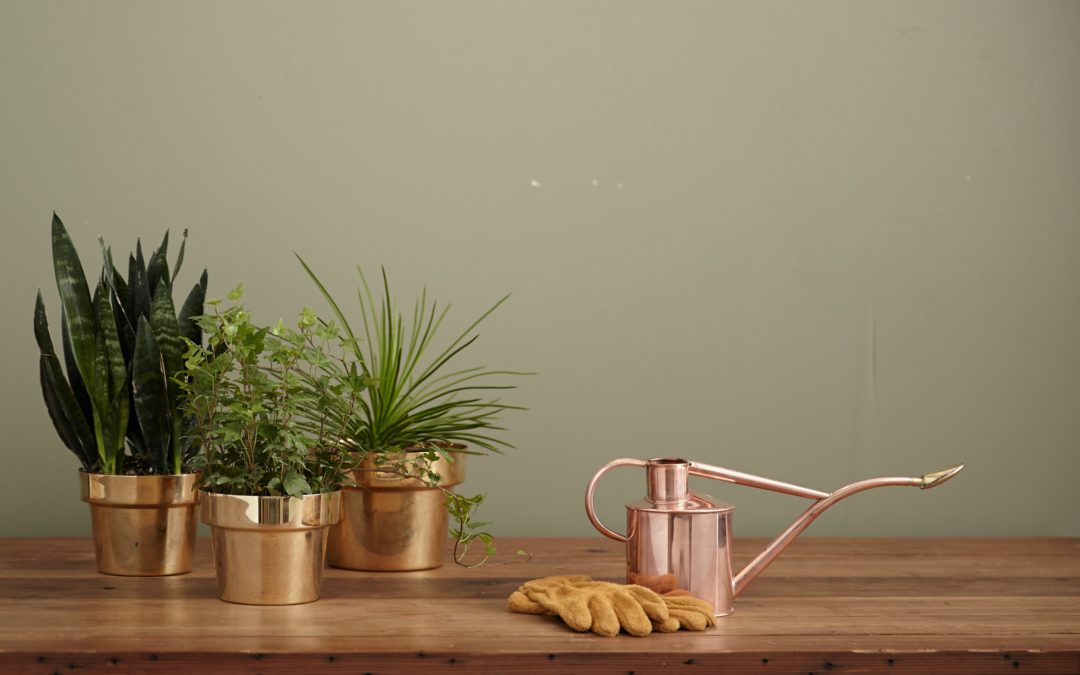
At the East Coast Radio House and Garden Show this year we designed a garden with simplicity and elegance in mind, in order to create a courtyard space that is tranquil and inviting.
The focal point included an elegant sandstone bowl from Wilson Stone, with a unique, one-of-a kind bronze sculpture from Sarah Cronin Designs used as the center piece of the sandstone bowl water feature.
Its whimsical design, which mimics that of water reeds, complements and gives movement and interest to the water feature. Juncus kraussii grasses were used to soften and green the feature.
The base of the water feature was then surrounded by Anthericum‘Starlight’ (variegated bumblebee grass). These grasses were planted en-masse to create a frame for the focal point, and to not distract from the intricate detail of the sculpture.
Sanded pine was used to frame the garden bed, complementing the natural feel of the design.
The contemporary pergola installed by Mallet Industries was designed to create a framework around the courtyard design, which brings together all the elements. The beautiful botanical art hung on the back wall was the final touch.
*About Sarah Cronin Designs: Inspired by indigenous African flora, Sarah Cronin Designs creates bespoke lighting and botanical water features. Each piece is hand-sculpted from pure copper or brass, hand beaten and rolled into shape. www.sarahcronindesigns.com
Here is archaeological evidence that apples (Malus domestica) have been eaten since as far back as 6500 BC, and they have also been associated in mythology with youthfulness and health through the ages. While an apple is credited with solving the problem of gravity in Isaac Newton’s mind, they also have incredible nutritional value.
Apples are the most versatile of fruit trees, with a wide range of cultivars ripening at different times during the season and therefore offering fruit from mid-summer to mid-spring, if stored correctly. They are well adapted to cold winters and can grow almost anywhere in the garden. The range of cultivars is such that they will suit most types of soil and climates. This is how you grow them successfully.
Suitable climates
For the trees to flower they need a long period at low temperatures, ideally below 7°C, which means the climate of the Western Cape is the most suitable and is where most commercial apples are grown. However, there are many thousands of varieties of apples, each with its own specific requirements. This means they can be grown in gardens almost anywhere in the country. In fact, large areas are devoted to commercial apple growing in Mpumalanga and the Free State. Your local nursery should have the cultivars available for your specific climate. For those with limited space, apple trees can also be grown in containers.
Propagation
Apple trees are best bought from reputable nurseries. Apples are grown on suitable rootstock that determines the size of the tree and the time when it bears fruit. Your local nursery should be able to help you select the best cultivar for your specific needs. Depending on the cultivar, you may need to plant two varieties, so that they can pollinate each other.
Pollination
Apples flower in mid- to late-spring, depending on the season and the cultivar. They may be vulnerable to late spring frost, so choose late-flowering or frost-resistant cultivars in areas subjected to heavy frost. Most apples are self-infertile, which means that they won’t set a good crop of fruit with their own pollen but will crop consistently when pollinated by compatible cultivars. There are exceptions and some are self-fertile. For good pollination, select cultivars from the same group if possible, or those from adjacent groups that will also serve as good pollinators. Trees grown in neighboring gardens can also serve as pollinators.
Feeding
Apples will benefit from an annual dose of potassium and nitrogen. Every third year you should also apply superphosphate in late winter, sprinkling it over the root area, just beyond the branch canopy.
Pruning
Pruning must be done with care, so as to not prune away the following year’s fruit buds. Most pruning is carried out in winter when the trees are dormant. Use the open-centre pruning method to clear any branches that will prevent light from penetrating into the tree and shading out the central branches. This will ensure that fruit forms on the central branches, and not only on the outer branches of the tree. Fruit will only bear on wood that grew the previous year. You may also need to thin out the fruit by removing any abnormally-shaped or damaged apples, so that the tree is not too burdened, which could cause branches to break.
Pests and diseases
Apples are susceptible to various insect pests as well as fungal and bacterial diseases. Keep your trees healthy and less likely to be attacked, by watering and feeding them regularly. When necessary, use chemical control for specific infestations.
We love it when our online shoppers share their gardening experiences related to the product they bought. It’s awesome to see fruits of their success through their hard gardening work, and even better when they are sharing their knowledge with youngsters, the gardeners of the future. This is an inspirational story from John Marais, a teacher at Sterling High School.
Thank you for sharing your story with us. Well done, it looks amazing!
In 2016 the eco-club of Stirling High School in East London decided to start a South African biome themed garden. As a WESSA eco-school, the theme for the year was biodiversity so we started planning an indigenous garden. The aim of this project was to create a multi-functional space which was educational, could be used by the learners during break and also to beautify the entrance to the school.
Biomes form part of the high school curriculum for Life Sciences (biology), yet very few children ever have the opportunity to see these different areas and their unique plant growth. So from the start the project needed to fulfil this need.
The entrance quad to the school was an unused space consisting of two strips of lawn surrounded by asphalt walkways. This was converted into six raised beds made from gabions. The idea behind this was to provide seating space as well as give some height to the area. To give some structure and symmetry, the beds on either side of the path were planted with the same types of plants. There are seven biomes in South Africa, we chose to plant two boxes with succulent species from the Thicket, Karoo and Succulent Karoo biomes. Two boxes were planted with Fynbos plants and the last two boxes were planted with Thicket and Forest plants.
The Grade 10 learners needed to do a project about a plant from a particular biome and if they were able to, to also find a specimen which they could then plant. Many of our plants were thus donated by leaners and their parents. These learners were also able to plant their own plants, something which many of them had never done before!
The succulent boxes contain many species of Aloe, Crassula, Cotyledons and Kalanchoes, to name a few. All of which were donated or grown from cuttings. The Fynbos posed more of a challenge as the soil needed to correct. For this we added more sand as well pine needles and decomposed pine bark to get the correct acidity. Here we planted all the main components of Fynbos; restios, ericas and proteas. We have some rare species growing here such as Silver Trees (Leucadendron argenteum), Erica verticillata, Serruria florida and Erica cerinthoides. In the thicket-forest box we planted an Umzimbeet tree (Millettia grandis) in each box as well as Dragon trees (Dracaena aletriformis), Num-num (Carissa macrocarper), Strelitzia reginae ‘Mandela’s Gold’ and Dwarf coral trees (Erythrina humeana).
After the gardens had been planted, information boards about the biomes were created and put up on the walls of the quad as well as some individual plant labels which gives some interesting information about the plant.
In 2017 we started the next stage of the project which was to create a wetland. These very important ecosystems are under threat throughout the world and once again are taught as concepts throughout high school. We lined a large area with plastic and poked a few holes. We filled this with compost enriched soil and then dug our pond into this. Here we used the pond kit from Tanya Visser. We lined the pond with rocks which were also donated.
All the wetland plants were also donated by parents and teachers from the school. Here we planted Cape Blue (Nymphaea nouchalia), Waterblommetjies (Aponogeton distachyos), Fluitjiesriet (Phragmites Australia), Papyrus (Cyperus papyrus), Wild date palm (Phoenix reclinata), Arum lilles (Zantedeschia aethiopica), red hot pockers (Kniphofia species) and Kruidjie-roer-my-nie (Melianthus major) to name a few.
Many children, teachers and parents have been involved in this project; digging holes, donating plants or weeding on a weekly basis. 12 Months ago the space was just lawn, today there are over 80 indigenous plants from many different parts of the country.
Our Team is ready to answer any questions or concerns that you may have. Feel free to get in touch!
Office Hours: 8:00am – 16:00pm
If we are not available then email us and we will get back to you as soon as possible. hello@tanyavisser.com